|
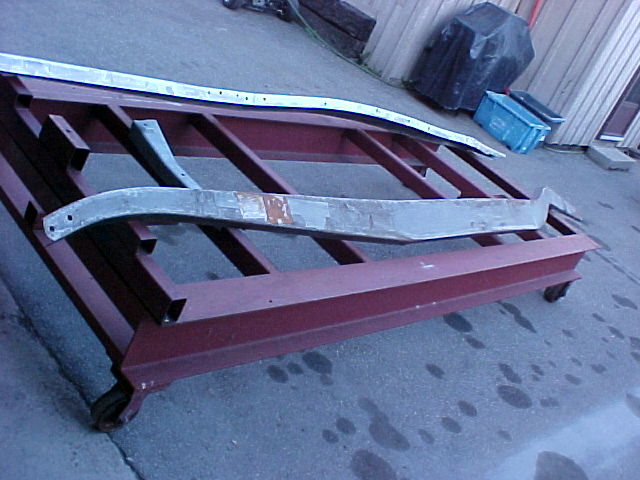
The start of any frame is the
rails, weather they are stock or reproduction
they must be
cleaned or
sandblasted |
|
|
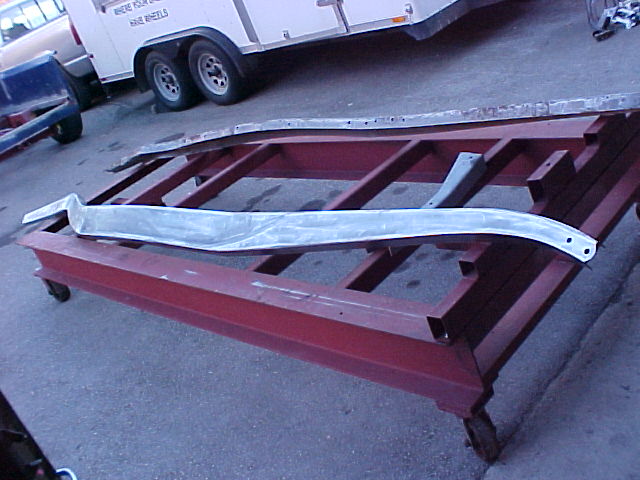
The rails have been cleaned and are almost ready to be assembled |
|
|
These are reproduction frame rails and
will require a little hammer |
|
|
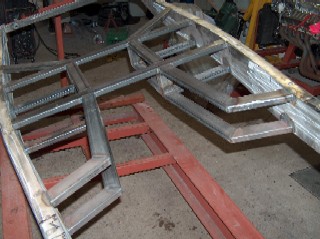
The basis of any frame is the front suspension and all front suspension starts with the cross-member, to the right is the front cross-member mounted in our frame jig at 5 degrees, this will stop the front spring from twisting when the front axle "I" beam or tubular axle is set at 5 degrees positive caster |
|
|
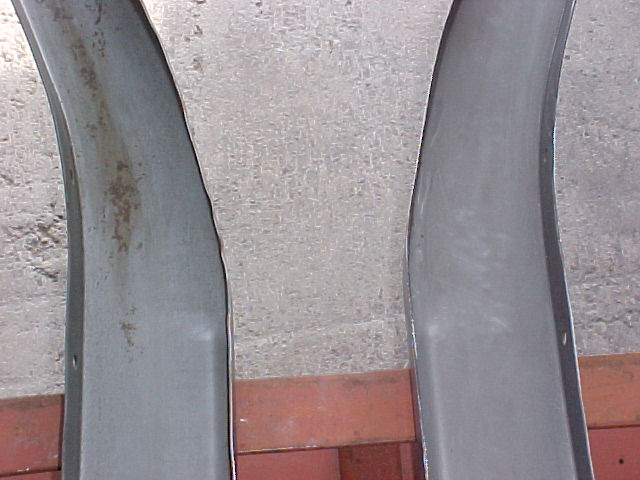
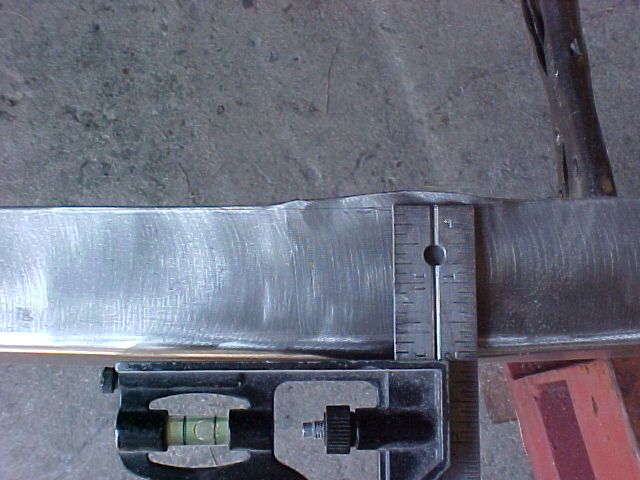
These frame rails are a stamping
and will require some trimming to |
|
|
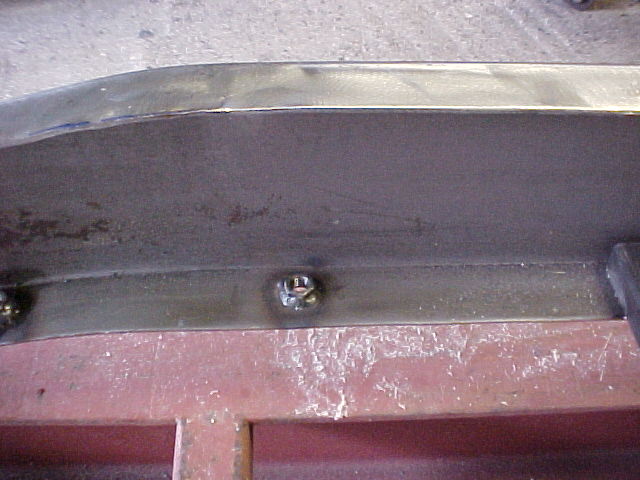
The body will be bolted to 7/16 nuts welded to the
upper frame flange the must be completed before the frame is boxed |
|
|
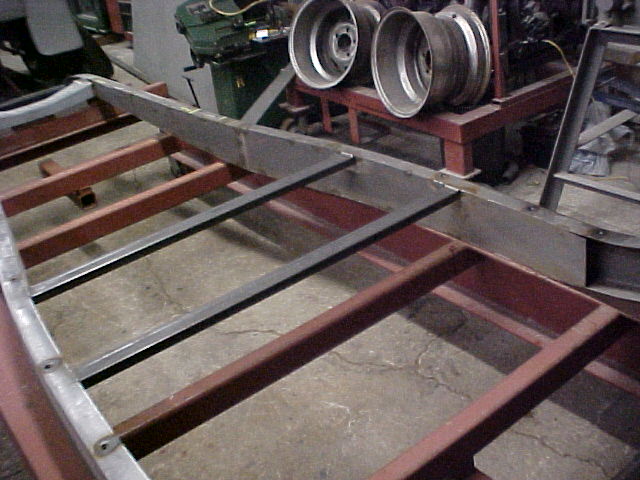
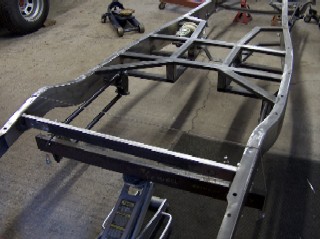
The frame will be fully
boxed front to rear with 1/8 inch steel boxing plates and will have 1 by 2 inch rectangular cross members this is much Stronger than round tubing |
|
|
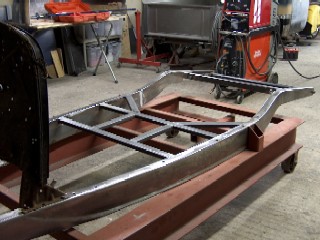
In this picture the chassis is
boxed and the rear cross member has been installed |
|
|
In this photo the rear coil over shock mount is
installed. the passenger side shock mount will be installed at a slightly less angle than the drivers side |
|
|
The rear cross member is being installed in this picture. The cross member will support the floor of the body with this style of cross member and should provide a rigid mount for the seats |
|
|
Lower cross member is being installed in this
picture, this is constructed using 1" by 2 " mild steel and it will stiffen the frame structurally |
|
|
Lower cross member outriggers are being installed in this picture, these are also 1" by 2" mild steel |

|
|
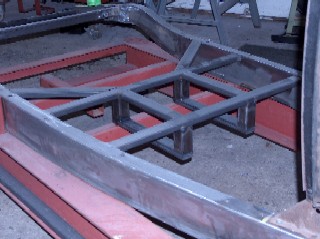
Upper cross member is being fitted in this
picture, these are always fitted to the transmission being used. that way the center section will fit snug to the transmission and support the body with much greater area |
|
|
The cross member is completed in this picture and
the is mounted on a rotisserie. Next we will be installing brake pedal assembly |
|
|
The brake pedal is completed in this picture Next we will be installing and attaching the suspension components |
|
|
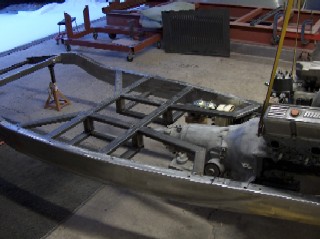
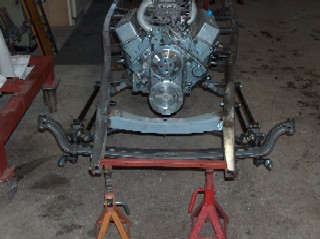
The motor mounts have been installed as well as the front axle here, spindles and disc brake assemblies will be next |
|
|
Here we have the rear suspension being
installed careful measurement is critical here because this will determine the wheel base |
|
|
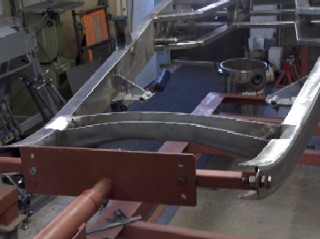
In this picture the front leave spring notches
have been cut into the lower frame rail this will allow the car to sit low |
|
|
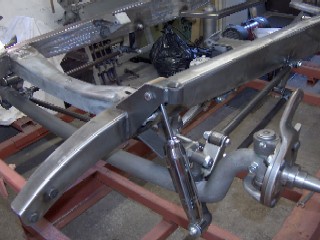
In this picture the steering box has been installed as well as the pan hard rod which stabilizes the front axle |

|
|
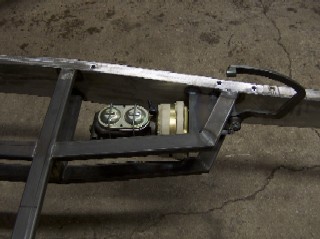
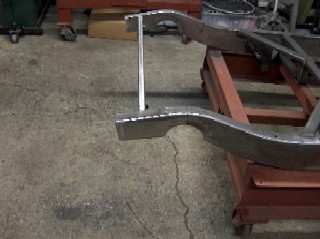
In this picture we have made a combination shock absorber and head light mount |
|
|
In this picture the frame has been notched at
the rear axle to allow the car to sit low |
|
|
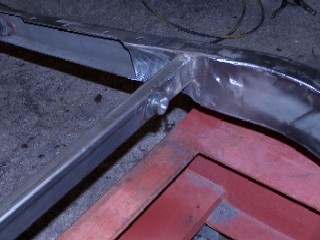
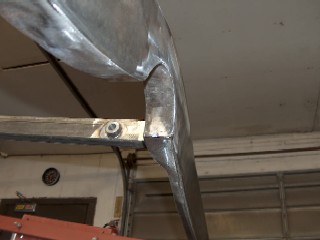
In this picture we are trying to display the benefit of a good T I G welder |

|
|
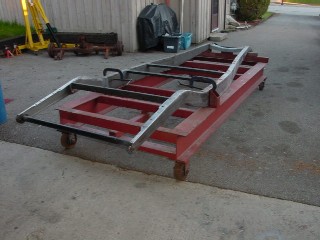
The frame has been shortened in this picture because this frame will be installed under a highboy with a trunk mounted fuel tank |
|
|
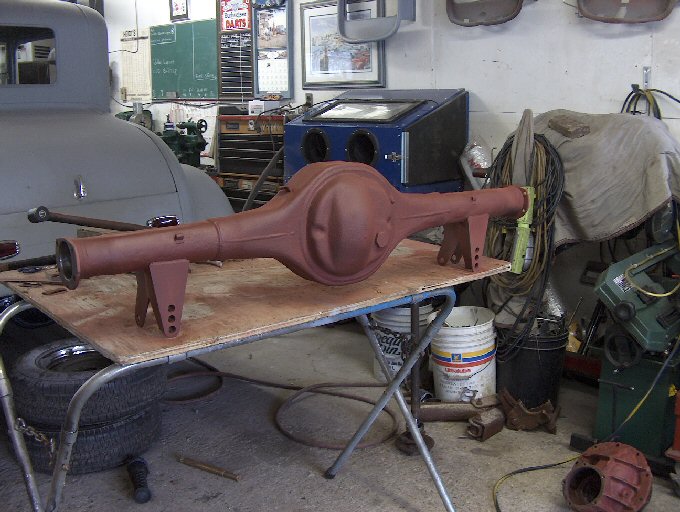
The rear axle has been assemble here and awaits installation |
 |
|
|